How to connect an external probe to your sensor
This guide will walk you through connecting an external probe to your sensor.
Benefits of Using an External Probe
Using an external probe extends the sensor’s range, which improves connectivity and ensures more consistent data transmission.
This is especially useful if you have sensors with low connectivity or that aren't recording temperatures frequently. Rather than purchasing an additional gateway, the external probe can help strengthen the signal for improved performance.
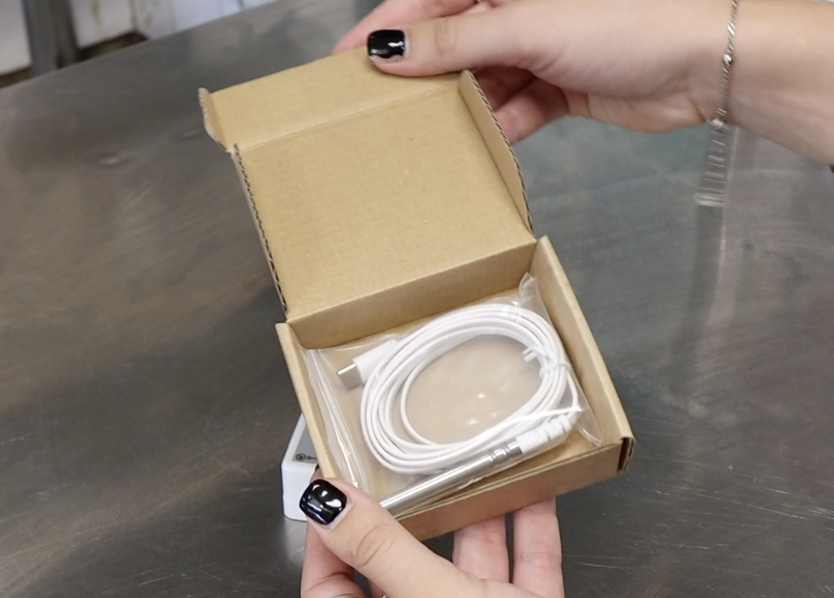
Step 1: Purchase the External Probe
External probes can be purchased through https://supplies.operandio.com/.
Note: You will need one external probe per sensor.
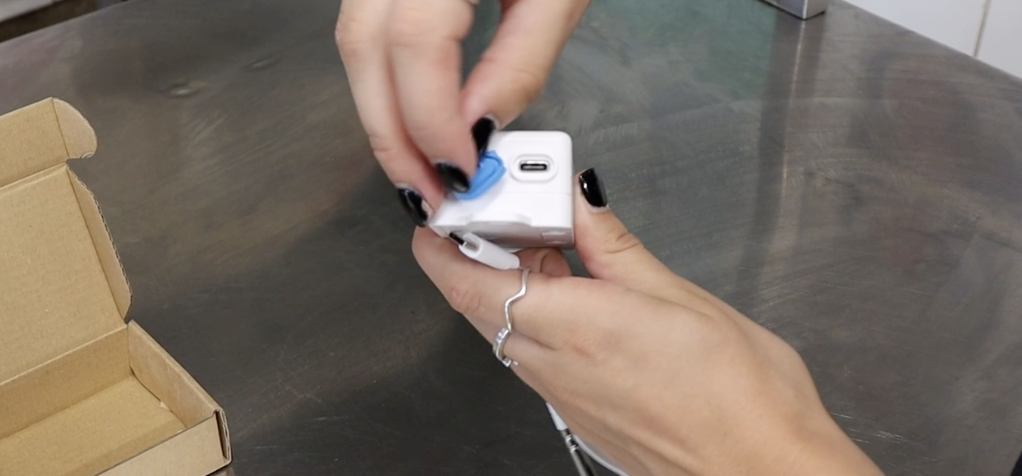
Step 2: Connect the Probe
Simply plug the external probe into the USB-C port at the bottom of the sensor.
Step 3: Install the Sensor and Probe
Mount the Sensor:
Fix the sensor to the outside of the unit using double-sided tape or 3M mounting tape.
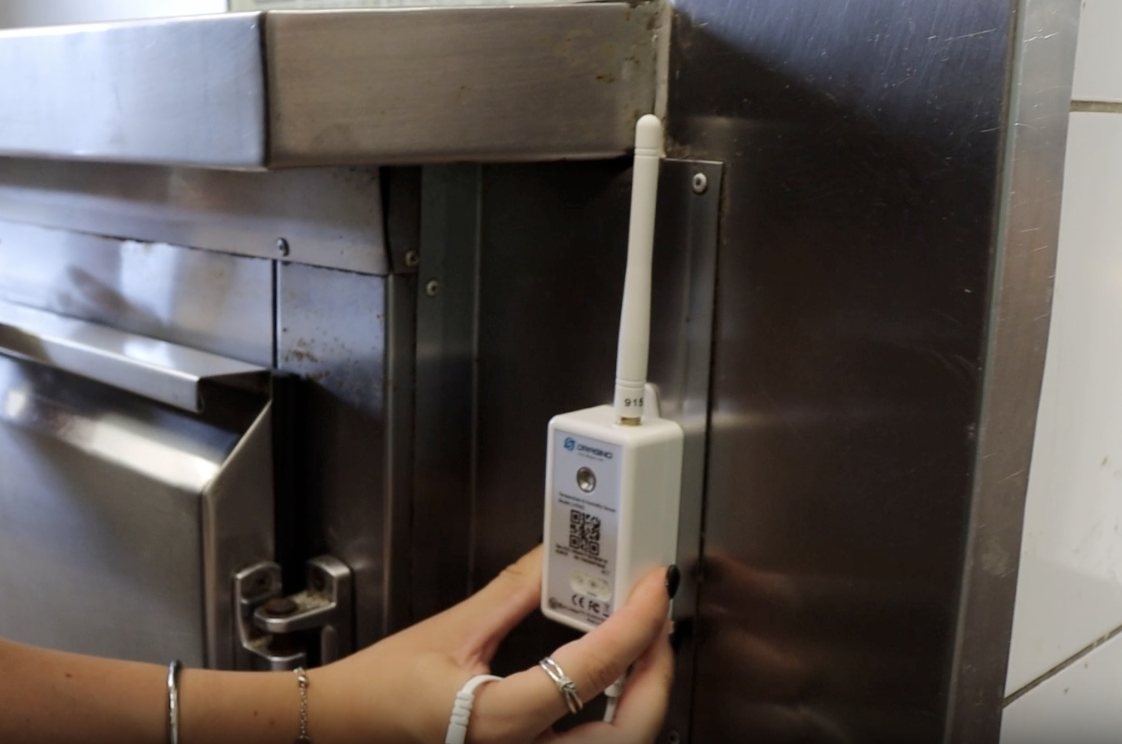
Position the Probe:
Feed the external probe through the door seal of the unit and secure it inside. Ideally, position the probe toward the back of the unit, away from direct airflow and fans.
Make sure any excess cord is neatly secured and kept out of the way to prevent interference or damage. We recommend fixing the cable neatly along the interior using adhesive clips, cable ties, or mounting tape - like in this example.
Once installed, you should notice:
- Improved signal strength
- More frequent and reliable temperature readings
If you need further assistance or recommendations, please contact our support team at:
📧 support@operandio.com