How to Invite Users Into the Platform
Inviting staff members to the platform is a simple process, whether you’re adding existing employees who need access or onboarding new members of your team. This guide walks you through each step, the permissions required, and what new users can expect once invited.
Only users with the correct permissions can invite employees into the platform.
If you do not see the option to add people, please contact your manager or platform administrator to request the necessary access.
Navigate to the People View
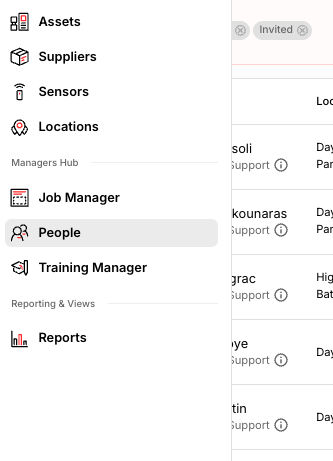
Open the platform and use the left-hand navigation menu to select People.
What you see in this view depends on your permission level and the locations you are assigned to. You will only see employees for the locations you can access.
Add a New Employee
If you have permission to invite staff, you’ll see options to create new profiles.
Click Add People, then choose whether to invite a single user or multiple users. Regardless of which option you choose, the details required for each employee remain the same.
Information Required for Each Employee
Start by entering the employee’s first name, last name, and email address. This email address is important, as it is where the activation link will be sent.
You will then configure the employee’s access to ensure they only see what is relevant to their role.
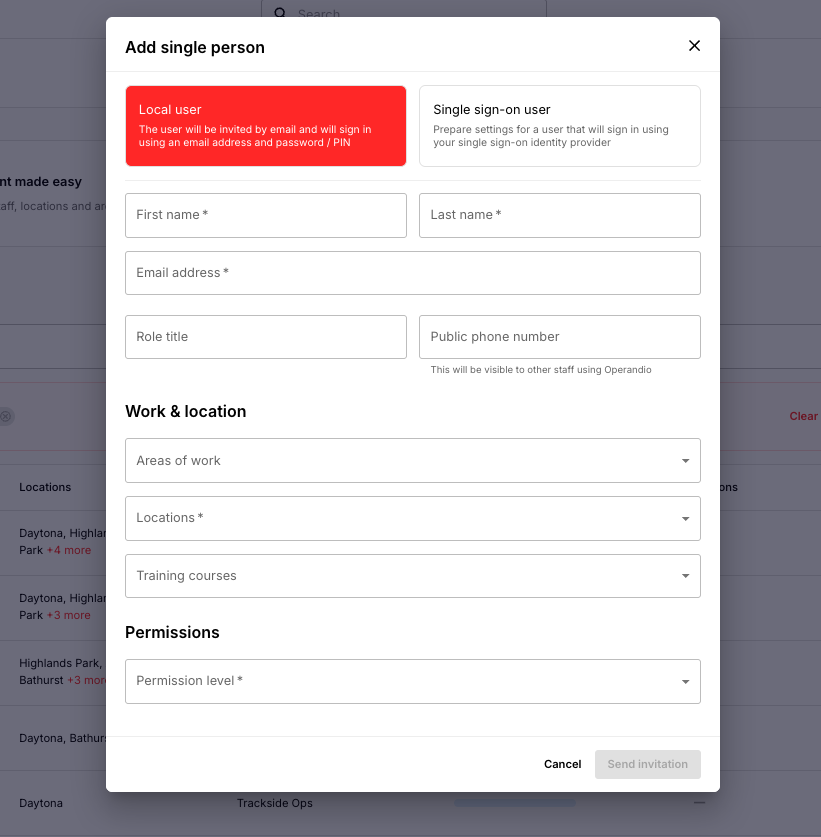
Areas of Work
Assign the employee to the correct Area of Work, which determines which checklists, tasks, and forms they can access.
For example:
A Head Chef should be assigned to the BOH (Back of House) area of work, where all food-safety-related records are located.
This prevents them from seeing any unrelated forms in other areas.
Location Assignment
Select the location(s) the employee works at.
- Employees will only see content for the locations assigned to them.
- If they work across multiple sites, you can assign more than one.
- Their profile will automatically appear on kiosk devices registered to any assigned location.
Permission Levels
Choose the permission level that matches the employee’s responsibilities.
You can select from:
- Standard built-in permission levels, or
- Custom permission levels created by your organization
This ensures employees can access everything they need - and nothing they shouldn’t.
Sending the Invitation
Once all of the required information has been completed and reviewed, send the invitation. The employee will receive an activation email that guides them through setting up their password and creating their 4-digit PIN. After they complete this activation process, they will be able to log in and access the platform.