How to Assign Actions to Assets
Assigning actions to assets makes it easy for staff to track maintenance, repairs, and unresolved issues. By linking actions to assets, you can quickly see:
- How many actions have been raised for an asset
- Which actions are unresolved
- What needs to be done for each asset
This also helps identify trends, such as recurring issues with certain equipment, so teams can take preventive measures.
How to Raise an Action and Assign It to an Asset
- Raise an Action
- Actions can be raised either from a checklist or directly from the dashboard by selecting Raise Action in the top right-hand corner.
- Reference: For step-by-step instructions on raising actions, see the How to Raise an Action Guide.
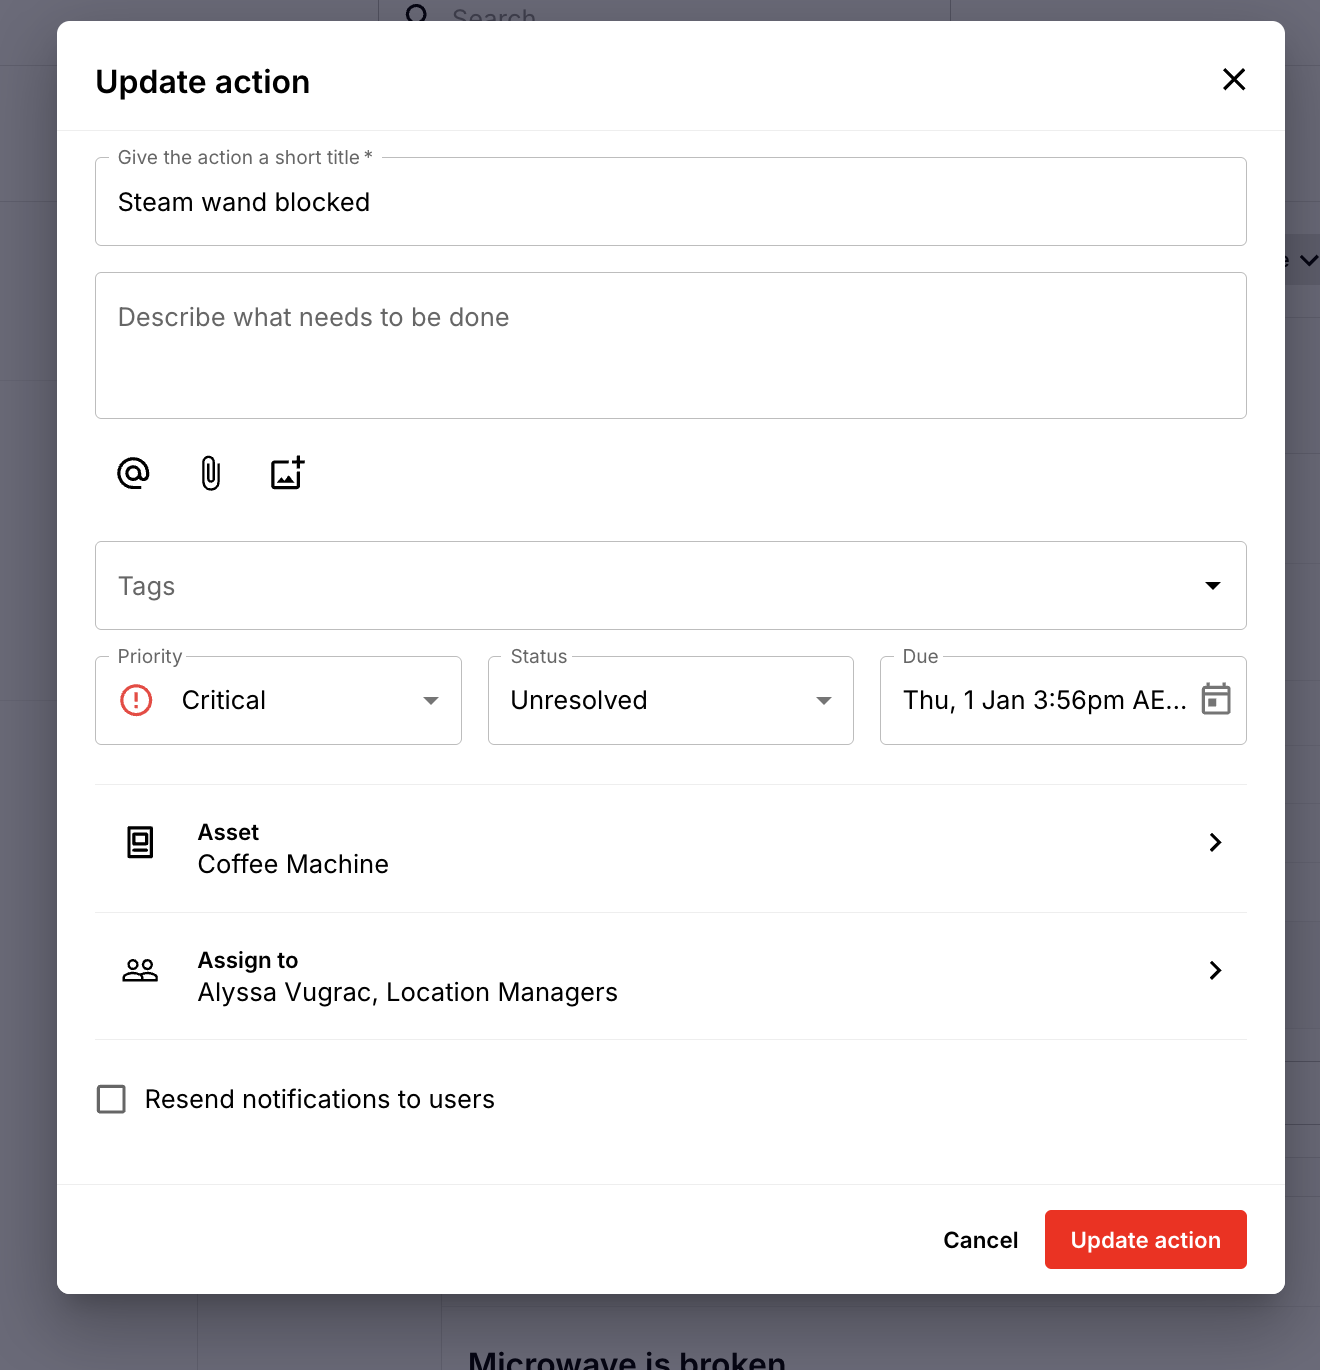
- Fill Out Action Details
- Describe the maintenance request or broken item.
- Add a tag (if applicable), set the priority and due date.
- Assign the Action to an Asset
- When prompted, select the asset associated with the action.
- Only assets available at your location or assigned to your area of work will be selectable.
- Complete assigning the rest of the action as normal.
Viewing Actions Assigned to Assets
-
Once the action is assigned, it will appear in the Asset View.
Staff can see:
- All actions linked to the asset
- The status of each action (open, in progress, completed)
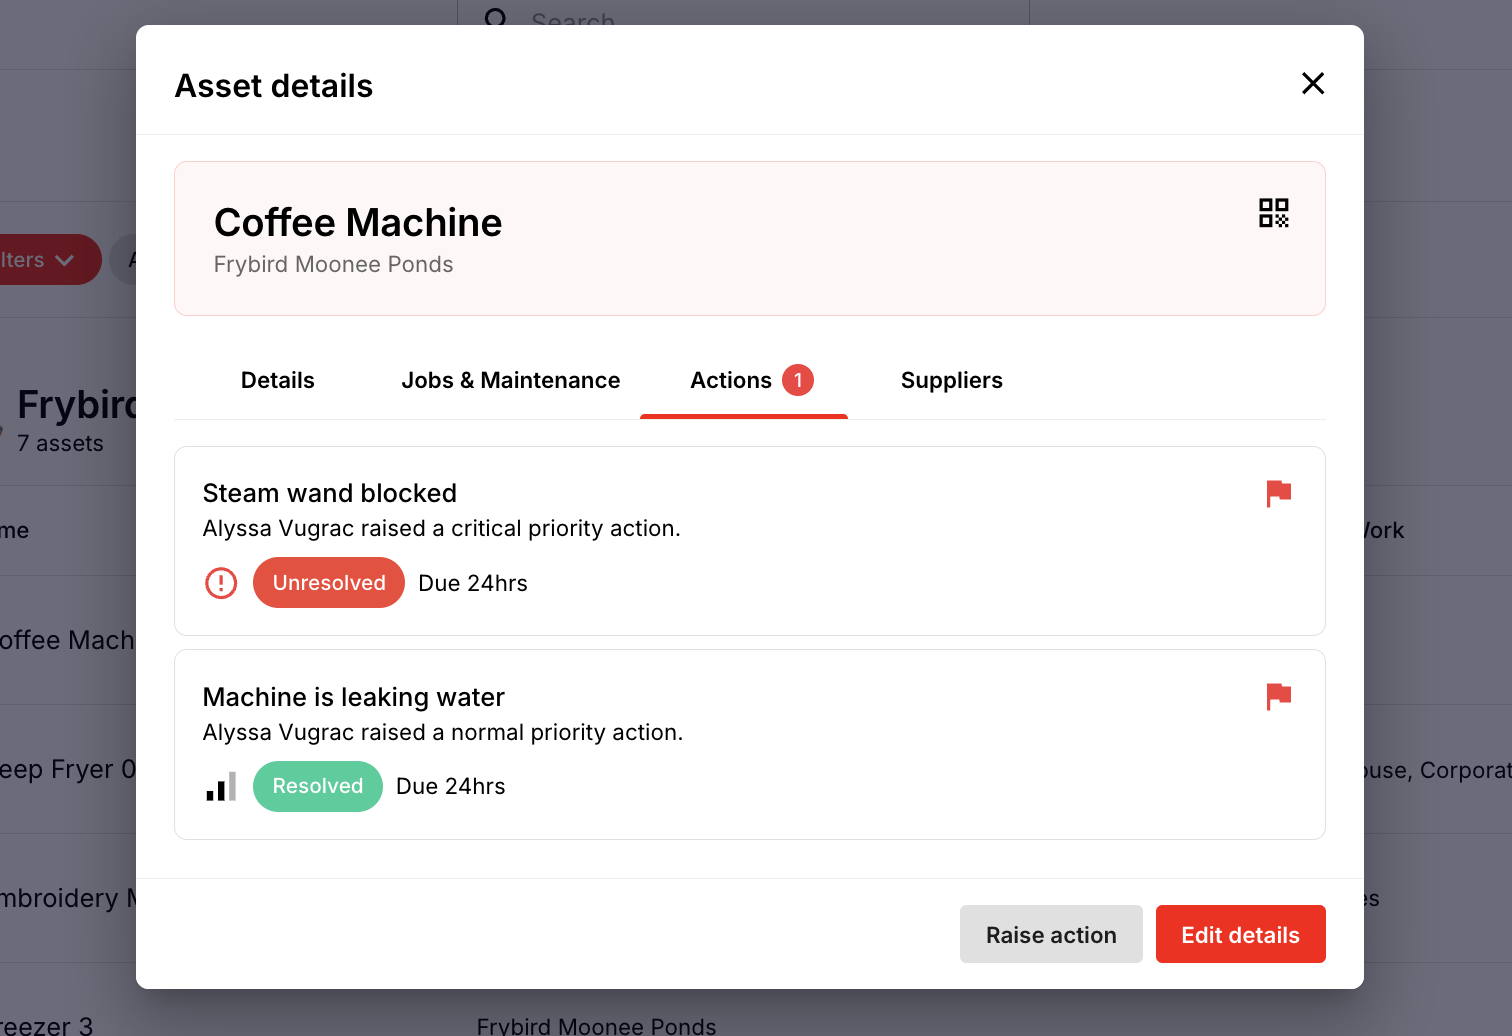
This makes it easy to manage maintenance, monitor recurring problems, and ensure assets are kept in good working order.