Set up Access Acknowledgement
Last updated: October 13, 2026
Access Acknowledgement asks selected staff to confirm a message before they can use Operandio. Click your profile photo in the top-right corner, select Settings, open Access Acknowledgement, and turn on Require staff to confirm before using the app. Choose who it applies to, write the confirmation and decline messages, set how often staff must re-confirm, then select Save. Staff who select No are signed out. You can review every response in Reports, under 'Access Acknowledgement'.
How it works
When Access Acknowledgement is on, targeted staff see a dialog titled Confirmation required when they log in, or the next time their session refreshes. It shows your confirmation message, and they can't close it without answering.
Yes records their acknowledgement and lets them continue using Operandio.
No records that they declined and shows your decline message. The only option from there is to sign out.
A Yes stays valid for the re-confirmation frequency you set. Once it expires, staff are asked again the next time they log in or their session refreshes.
Example: making sure staff are on shift
A common use is making sure staff only use Operandio while they're working. If someone opens the app at home to tick off a checklist before their shift starts, that's time they aren't being paid for, and it can create problems for both the business and the staff member. To prevent this, a venue targets its Employee permission level and sets the confirmation message to "I confirm that I have clocked in before starting work." Anyone who selects No is told to clock in first, then log back in. With the re-confirmation frequency set to 8 hours, staff confirm once at the start of each shift. Other uses include asking staff to confirm they are fit for work, or that they have read an important safety update before starting.
Turn on Access Acknowledgement
Click your profile photo in the top-right corner and select Settings.
Open Access Acknowledgement.
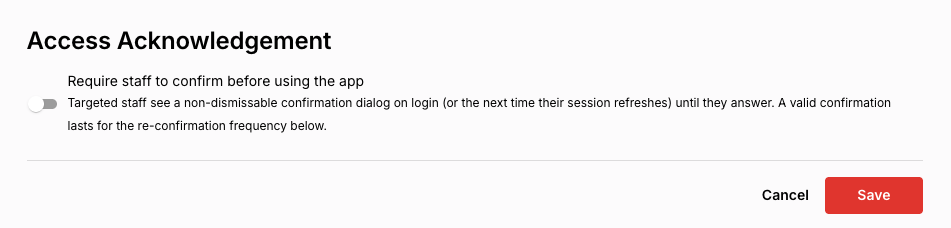
Turn on Require staff to confirm before using the app. The rest of the settings appear once it's on.
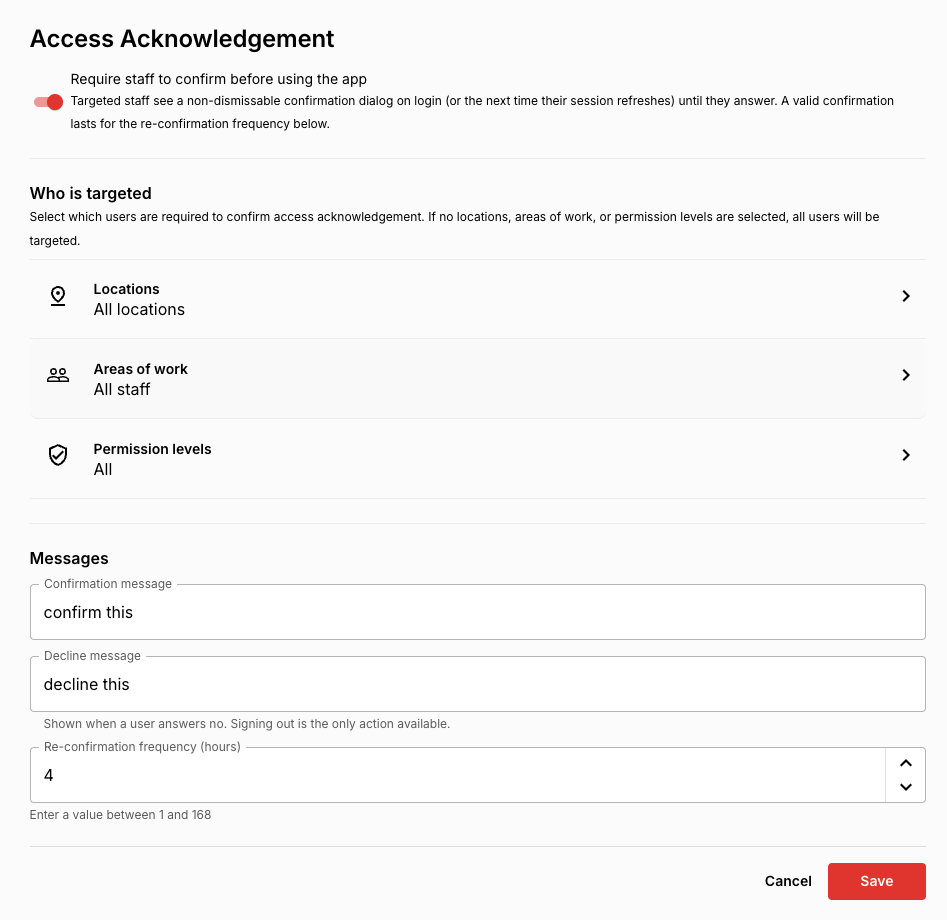
Under Who is targeted, choose the Locations, Areas of work, and Permission levels that need to confirm.
Under Messages, enter your Confirmation message.
Enter your Decline message.
Set the Re-confirmation frequency (hours).
Select Save.
Choose who needs to confirm
In the Who is targeted section, you can target staff by locations, areas of work, and permission levels. By default these show All locations, All staff, and All, which means every user is targeted. If you make selections in more than one of these, staff must match all of them to see the acknowledgement. For example, if you choose one location and one permission level, only staff at that location with that permission level are asked to confirm.
Write your messages
Confirmation message
This is what staff see before they can continue into Operandio, and it's required when the feature is on. Keep it short, clear, and action-focused. For example:
I confirm that I have clocked in before starting work.
Decline message
This is shown when a staff member selects No. Use it to explain what they should do next. For example:
You need to clock in before using Operandio for work. Please sign out, clock in, then log back in.
Once this message appears, the staff member can only sign out.
Set the re-confirmation frequency
The re-confirmation frequency controls how long a Yes stays valid. Enter a whole number of hours between 1 and 168. The default is 4 hours. For example, with a 4 hour frequency, a staff member who confirms at 9:00 AM is not asked again until 1:00 PM. After that, they are prompted on their next login or session refresh.
Match the frequency to how often you want staff to confirm. If you want one confirmation per shift, set it close to your typical shift length.
View acknowledgement responses
Go to Reports, then Access Acknowledgement. The report shows each response, including the staff member, whether they selected Yes or No, and when. You can export the results as a CSV file.
Good to know
Access Acknowledgement is set at the organisation level.
Only users with permission to update organisation settings can manage it and view the report.
A staff member who selects No is asked again the next time they log in or their session refreshes.
Turning the feature off stops the prompt from appearing.
Changing the frequency doesn't shorten an acknowledgement that's already valid. The new timing applies the next time a staff member confirms.