Calibrating your Dragino E3 External Probe
Last updated: October 15, 2026
This guide walks you through checking that the external probe on your LHT65S sensor is reading accurately, using an ice bath. It takes about 15 minutes and only needs a container, ice, and water.
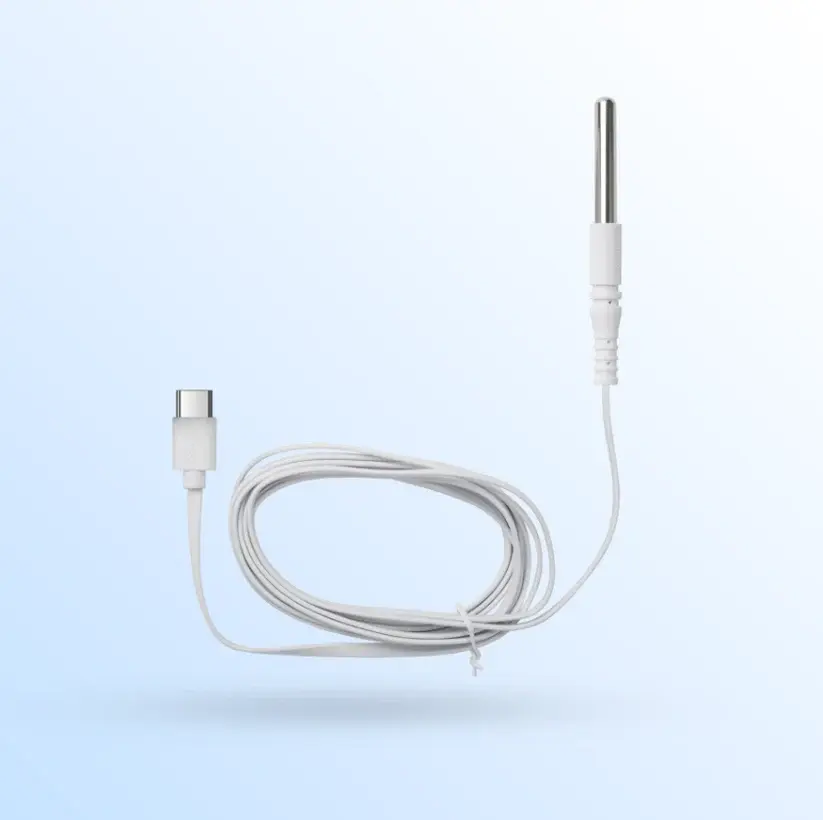
Note: The main body of the sensor is not waterproof. Only the metal tip of the external probe and a few centimetres of its cable can go in the water. The sensor itself, and the plug that connects the external probe to it, must stay completely dry and well clear of the container. Because the tip and cable of the external probe are waterproof, they go straight into the ice bath. You don't need to seal anything in a bag.
Do external probes need calibrating?
The external probe is calibrated by the manufacturer before it ships and is accurate to within 0.5°C. Dragino does not require routine recalibration, and there is nothing you need to adjust on the external probe.
An ice bath test is a simple way to confirm the external probe is still reading correctly. It is worth doing if:
A reading looks wrong compared to a separate thermometer.
The external probe has been dropped, damaged, or exposed to extreme temperatures.
Your food safety program or auditor asks you to check your equipment regularly.
What you need
A tall glass or insulated container.
Enough crushed ice to fill it. Smaller pieces leave fewer air gaps, which gives a more accurate result.
Cold tap water.
A clean cloth.
Step 1: Prepare the ice bath
Fill the container to the top with crushed ice.
Pour in cold water until it fills the gaps between the ice, stopping just below the top of the ice. The ice should stay packed at the bottom rather than float.
Stir the mixture, then leave it for 2 to 3 minutes so the temperature settles at 0°C (32°F).
Step 2: Test the external probe
Place the sensor next to the container, away from any water or splashes.
Push the tip of the external probe at least 5 cm (2 inches) into the centre of the ice bath. Don't let it touch the bottom or sides, as heat from the room passes through the container walls.
Leave the external probe in for 2 to 3 minutes, stirring gently so the tip stays surrounded by ice water.
With the external probe still in the ice bath, press the button on the front of the sensor for 1 to 3 seconds to send a reading straight away.
Check the reading on your Sensors Dashboard in Operandio.
Repeat the test three times and note each result.
When you're finished, dry the external probe and cable fully with the cloth before unplugging it from the sensor.
Step 3: Check your results
If all three readings are between -0.5°C and 0.5°C (31.1°F to 32.9°F), your external probe is reading accurately and no further action is needed. If the readings are consistently outside that range, try leaving it in the ice mixture for another 15 minutes, and contact Operandio support if the results still remain the same.
Troubleshooting
The reading shows 327.67°C. This means the sensor can't read the external probe, usually because the plug is loose or has got wet. Dry the external probe and plug, push the plug firmly back into the sensor, and test again.
The readings jump around between tests. Check the ice is still packed at the bottom and topped up, the tip of the external probe isn't touching the container, and you're stirring gently while it sits in the bath.